
Mastering the Art of Homemade Dill Pickles: An Effortless Journey to Crunchy Perfection
- Lulu's Farm

- Jul 11, 2025
- 4 min read
Tired of bland, store-bought pickles that lack the crunch and flavor you crave? Making your own homemade dill pickles is the answer! It’s a simple, rewarding process that lets you enjoy the fresh taste of crisp cucumbers, fragrant dill, and zesty garlic, bringing the essence of summer to your table year-round. Get ready to dive into a flavorful adventure that requires just a handful of ingredients and a bit of patience!
The Basics of Pickling
Understanding the basics of pickling is critical. Pickling is a preservation method that uses vinegar, salts, and spices to create a brine, which prevents harmful bacteria from spoiling your food. This results in a tangy, flavorful cucumber that can be enjoyed for months.
For the best results, always opt for pickling cucumbers. These cucumbers, which are typically about 4 inches long, are thicker and have a firmer texture than regular cucumbers. This sturdiness ensures a delightful crunch in every bite. In fact, pickling cucumbers hold up so well that they have a crispiness rating of 90% after being preserved, compared to 70% with regular cucumbers.
Ingredients You'll Need
Gather the following ingredients to start your homemade dill pickles:
10 small pickling cucumbers (about 4 inches long)
2 cups of water
1 cup of white vinegar
1/4 cup of pickling salt (or kosher salt)
4 cloves of garlic, peeled and smashed
2 tablespoons of dill seeds (or a few sprigs of fresh dill)
Optional: red pepper flakes for a spicy kick
With these ingredients at hand, you are ready to create delicious pickle perfection.
Step-by-Step Guide to Making Dill Pickles
Step 1: Prepare the Cucumbers
Begin by washing your cucumbers thoroughly under cold water. Trim off the ends, then decide whether you'd like to slice them in half lengthwise or into rounds based on your preference. For an extra crunchy texture, soak the cucumbers in ice water for one hour prior to pickling. This simple trick can increase crunchiness by up to 30%.
Step 2: Create the Brine
In a saucepan, combine the water, white vinegar, and pickling salt. Heat the mixture over medium heat, stirring until the salt completely dissolves. Once dissolved, remove the pan from the heat and allow it to cool for a few minutes.
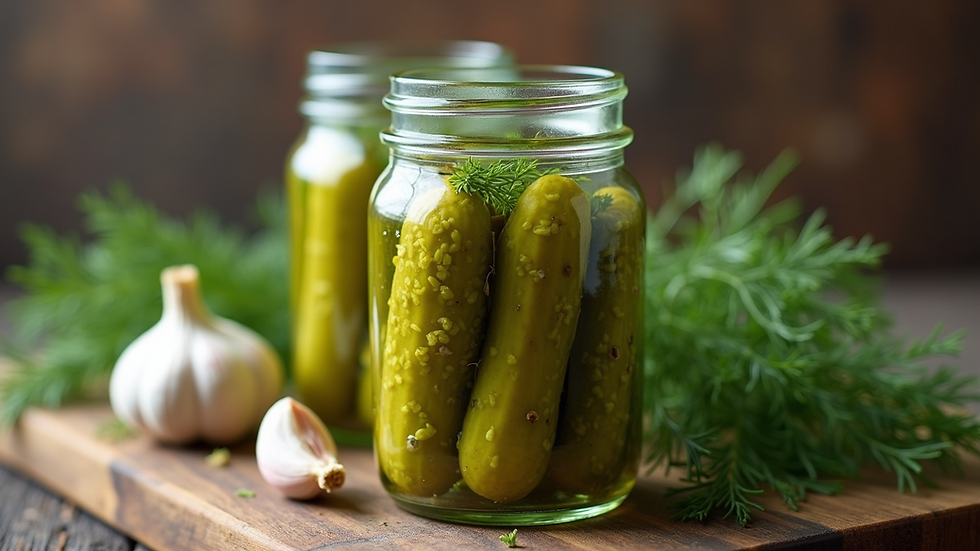
Step 3: Pack the Jars
In clean, sterilized jars, add the smashed garlic cloves, dill seeds (or sprigs), and optional red pepper flakes. Carefully pack the cucumber slices into the jars, but remember to leave some space at the top for the brine to circulate.
Step 4: Pour the Brine
Once the jars are filled, slowly pour the cooled brine over the cucumbers, ensuring they are fully covered. Leave about half an inch of headspace at the top of each jar to prevent spilling.
Step 5: Seal and Store
Seal the jars tightly with lids and allow them to cool to room temperature. After cooling, transfer them to the refrigerator. Your pickles will be ready to enjoy after just 24 hours, but letting them sit for at least a week will deepen the flavor profile.
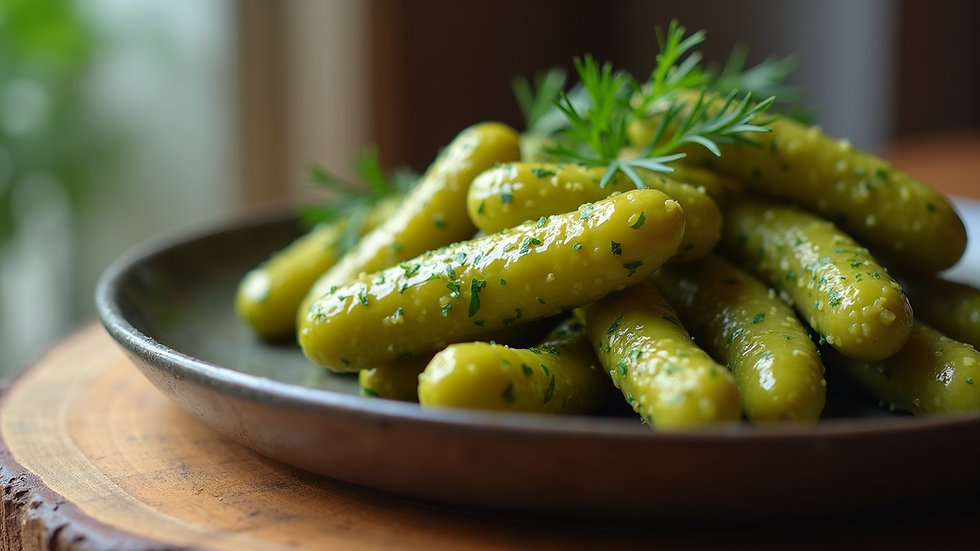
Taste Testing
After your wait, it's time for the moment you've been anticipating! Open a jar and relish the crunchy texture and balanced flavors of your homemade dill pickles. Whether as a snack, on sandwiches, or served with grilled meats, these pickles are sure to impress. After a week, their flavor develops even more, enhancing your culinary creations.
Tips for Perfecting Your Pickles
First-time pickle makers will find it helpful to remember these pointers:
Explore New Spices: Adjusting spices in the brine can elevate your pickles. Consider adding mustard seeds (which can add a slight bitterness) or coriander seeds for an exotic touch.
Vinegar Variations: While white vinegar is common, experimenting with other types, such as apple cider or red wine vinegar, can give your pickles a unique flavor twist.
Proper Packing: Avoid overcrowding your jars. This technical detail ensures the brine penetrates each cucumber slice evenly.
Use Fresh Ingredients: Ideally, pick cucumbers and herbs that are fresh and in season. This not only enhances the taste but can also improve the overall quality of your pickles.
Storing Your Homemade Dill Pickles
Once sealed, your tasty homemade dill pickles can happily reside in the refrigerator for up to two months. If you feel adventurous and make a big batch, you might consider water-bath canning for longer-term storage. However, for beginners, keeping pickles in the fridge is both easy and effective.

Enjoy Your Pickling Journey
Creating homemade dill pickles is about more than just the delicious end product. It's a fun and satisfying process that brings a sense of accomplishment. With this straightforward recipe, you will enjoy your own crunchy pickles made right in your kitchen.
Feel free to experiment as you develop your pickling craft! The pickling world is vast, and with each batch, you can create unique variations to wow your family and friends. Grab those cucumbers and start your pickling adventure today!


Comments